
Designing a transparent header in WordPress with Elementor Pro
The steps for building a transparent header in WordPress
Advanced settings for building a transparent header in WordPress
In web design, one of the most important factors in attracting and keeping users is the use of professional visual and graphic effects. They contribute to a better user experience and to more effective engagement with an audience. If your site is well designed, it will attract more visitors and they will be more likely to come back. One way of improving a site's visual appeal is to build a transparent header in WordPress using Elementor Pro. In this article we set out step by step how to design a professional transparent header with that powerful tool.
Designing a transparent header in WordPress with Elementor Pro
In earlier articles we covered building a footer with Elementor. Now it is the turn of the header, the part of a site users look at first. If you use the Elementor page builder, you have a great deal at your disposal, and one of those things is the ability to build a transparent header in WordPress. To begin, make sure you have installed and activated the Elementor Pro plugin. Then go to the WordPress dashboard and, from "Templates", go to "Saved Templates". You may see header templates there. If there is no ready-made template, you can create a new one as a section.
The steps for building a transparent header in WordPress
The steps for building a transparent header in WordPress are as follows:
Step 1:
On the Templates page, click "Add New". Then set the template type to "Header". If that option is not available, set the type to "Section". Choose a name for the template and go on to the next step.
Step 2:
Clicking "Create Template" takes you into the Elementor design environment. There you can place various elements — logo, menu, social icons, a contact button and so on — side by side in an appealing, practical arrangement.
Step 3:
At this stage you can usually choose one of the ready-made headers and edit it to suit your needs. These pre-designed templates can make building a header quicker and simpler. If no ready-made header template is available, though, you will have to design the header by hand from scratch.
Step 4:
A header usually includes elements such as a logo and parts tied to the theme's settings by default. If you do not see such elements on the Elementor design page, though, there is no cause for concern. Using drag and drop with Elementor's widgets, you can readily place an image of your choice in the header area as the site's logo and customise it to match the site's design.
Step 5:
At this stage it is the turn of the site's navigation menu. To add it, choose one of the menus you have already built from among the options in Elementor's widget list. Placing that element in the header lets you display the menu you want. Once the menu is added, you can edit its design, typeface, size, colour and other visual qualities so as to tailor it entirely to your site's style.
Step 6:
Here you can use elements such as a user profile (usually including a dropdown menu), a search icon and other practical parts. These items can be placed in a row or in any other arrangement you like. In designing this part, bear in mind that a site's header should be light, simple and practical while giving users quick routes to the site's various sections.
Step 7:
Once the design is complete, it is time to establish where on the site this header will appear. You can set it to appear across the whole site, on certain pages only, or for a group of users such as registered members or guests. You can set different headers for logged-in users and for anonymous ones, so as to create a more personalised experience.
Step 8:
Once all the settings and the design are finished, click "Save & Close". Your bespoke header will then be saved and ready to use.
Step 9:
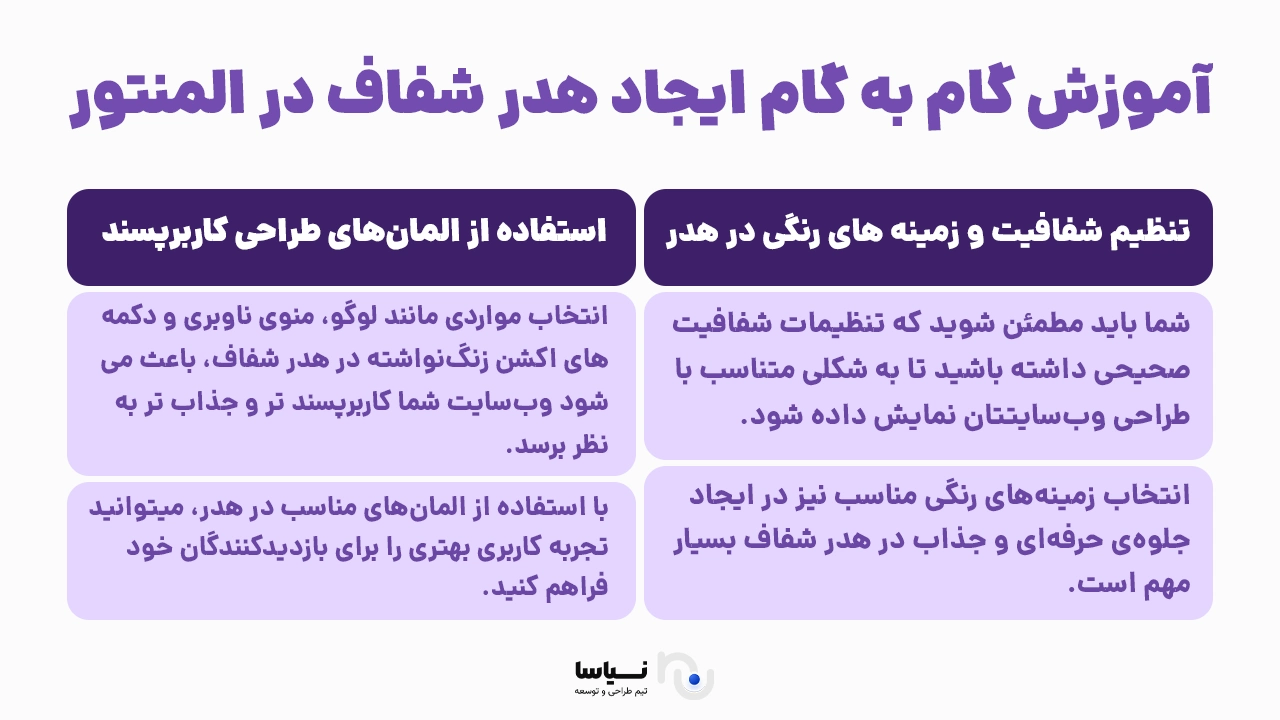
To make the header transparent, go to the "Style" tab. Then choose the "Background" option and change its value to rgba(255,255,255,0). That makes the header's background completely transparent and gives your site a modern, appealing look. With that, you have built a transparent header in WordPress.
Advanced settings for building a transparent header in WordPress
To make your transparent header in WordPress more professional, it is worth going to the more advanced settings. First, to create an overlap between the header and the content beneath it, set the bottom margin to minus 100 pixels or less. In the header's advanced settings, likewise set the height to minus 90 pixels. Note that for these changes to apply precisely, always turn off the link icon beside the spacing settings so that the values are entered independently. To be sure the header always sits above the other elements, set z-index to 999. That places it in the topmost layer.
To apply bespoke CSS, define a CSS ID called header_stick in the header's advanced settings. That ID lets you apply the code you want to this header in Elementor's custom CSS section.

Then go to Motion Effects. There, set Sticky to Top and, in the display settings, also select desktop, tablet and mobile so that the header stays floating across every screen. The Offset value should be set according to the header's height so that it behaves properly on scroll. At this point your bespoke header design is complete, but because the background is transparent the elements in the header may not be clearly visible while scrolling. To resolve that, you can use CSS to change the header's background colour on scroll.
To do so, go to the Advanced tab, choose Custom CSS and enter the following code:
.elementor-sticky--effects {
background-color: #000;}
You have now built a transparent header in WordPress with advanced, responsive settings, and you can choose and use it from among your saved templates. To order a WordPress website design, you can visit the link.